
Solar energy is becoming increasingly popular as a renewable energy source, and many homeowners and businesses are opting to install solar panels to reduce their energy bills and carbon footprint. If you’re considering installing solar panels, it’s important to understand the solar installation process to ensure that the installation is safe, efficient, and effective.
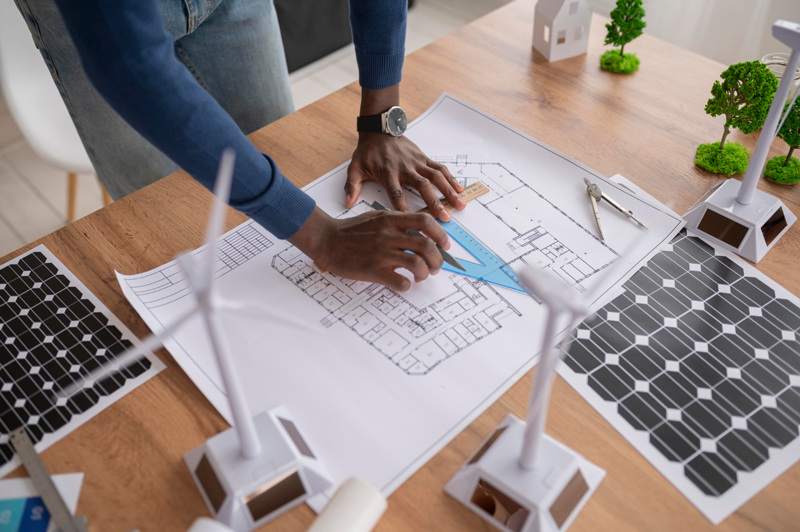
1) Consultation and Site Assessment
The first step in the solar installation process is to consult with a solar installation company to determine if solar panels are a good fit for your property. During the consultation, the installer will evaluate your energy needs, your roof’s orientation, and any potential shading issues. They may also discuss the financial incentives available to you, such as tax credits and rebates.
Once the installer has determined that solar panels are a good fit for your property, they will conduct a site assessment to evaluate your roof’s structural integrity, load capacity, and electrical connections. This assessment will help the installer determine the best location for the solar panels and the type of mounting system that will be required.
Once the site assessment is complete, the installer will design a solar panel system that meets your energy needs and is compatible with your roof’s structure. The design will include the number of solar panels required, the location of the panels, and the type of mounting system that will be used.
The installer will also obtain the necessary permits for the installation, which may include building permits, electrical permits, and zoning permits. The permitting process can take several weeks, so it’s important to start the process early to ensure that the installation is completed on time.
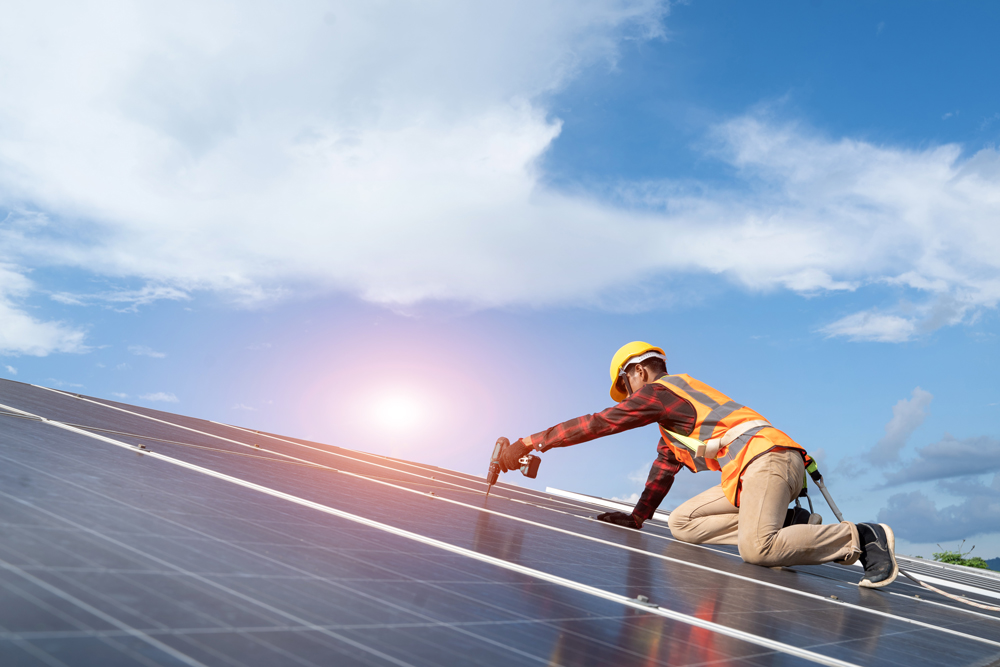
2) Installation
Once the permits have been obtained, the installer will begin the solar panel installation process. This typically involves installing the mounting system, followed by the solar panels themselves. The installer will also connect the solar panels to an inverter, which converts the direct current (DC) electricity generated by the solar panels into alternating current (AC) electricity that can be used to power your home or business.
The installer will also install a solar meter, which measures the amount of electricity generated by the solar panels and the amount of electricity consumed by your property. If your solar panels generate more electricity than you consume, the excess electricity can be fed back into the grid and you may be eligible for net metering credits.
3) Inspection and Interconnection
Once the installation is complete, the installer will schedule a final inspection with the local building department to ensure that the installation meets all building and safety codes. Once the installation has been approved, the installer will work with your utility company to interconnect your solar panel system with the grid.
Interconnection involves installing a bi-directional meter that allows electricity to flow both to and from the grid. This process can take several weeks, but once the interconnection is complete, you can start using solar power to meet your energy needs.
4) Maintenance and Monitoring
After the solar panel installation is complete, it’s important to maintain and monitor your system to ensure that it continues to operate effectively. This typically involves cleaning the solar panels periodically to remove any debris or dirt that may reduce their efficiency. You may also need to trim any nearby trees or foliage that may cast shade on your solar panels.
In addition, it’s important to monitor your solar panel system’s performance to ensure that it’s generating the expected amount of electricity. Many solar panel systems come with monitoring software that allows you to track your energy production in real-time and identify any potential issues.